
Cutting granite at home might sound like a task reserved for professional masons or overly ambitious DIY enthusiasts, but it’s more achievable than it seems. With the right tools, a sprinkle of patience, and a dash of courage, anyone can transform a hefty slab of granite into a stunning countertop or a chic garden feature. Who knew channeling your inner stone sculptor could be this rewarding?
Table of Contents
ToggleTools Needed For Cutting Granite
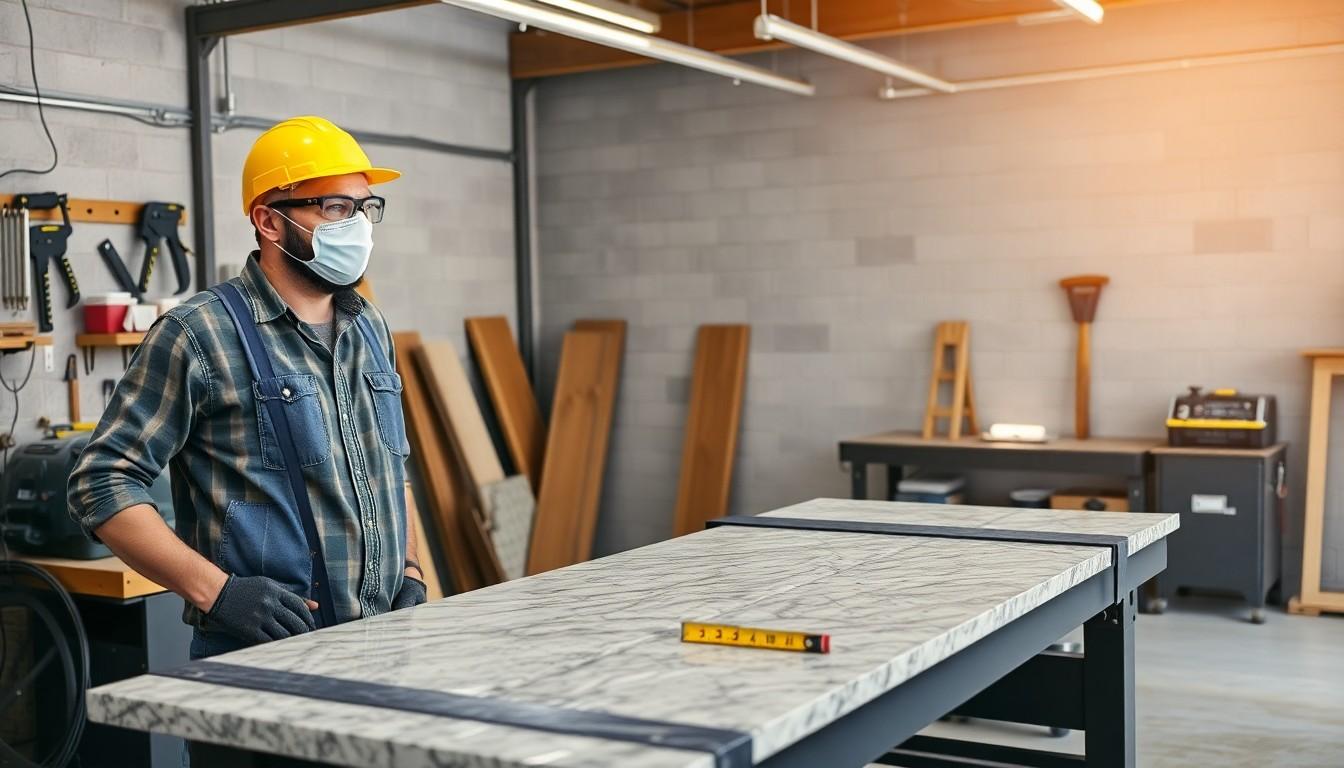
Cutting granite requires specific tools to ensure successful results. With the right equipment, anyone can manage this challenging task.
Essential Tools
A diamond saw makes precision cuts in granite. This tool efficiently handles the dense material. Additionally, a grinder polishes and finishes edges for a smooth appearance. A measuring tape ensures accurate measurements, while a marker helps outline cutting lines. Clamps secure the granite during the cutting process, preventing movement and ensuring safety. Consider a wet saw for reducing dust and keeping the blade cool. These tools are essential for achieving clean, professional-grade cuts.
Safety Gear
Safety gear protects individuals during the granite cutting process. A pair of safety goggles shields the eyes from flying debris. Hearing protection is crucial when operating loud tools, reducing the risk of hearing damage. Workers should wear a dust mask to filter harmful particles while cutting. Sturdy gloves provide grip and protect against sharp edges. Steel-toed boots enhance foot protection, ensuring safety on the job site. Wearing this gear minimizes injury risk and increases the overall safety of the project.
Preparing The Workspace
Preparing the workspace is crucial for cutting granite effectively. Proper setup enhances safety and ensures smooth operation throughout the project.
Selecting The Right Location
Choosing the right location significantly impacts the cutting process. A well-ventilated area prevents the accumulation of dust, which improves air quality. Access to water sources simplifies the use of a wet saw, helping minimize dust and cool the blade. Adequate lighting increases visibility, allowing precise cuts. Avoiding locations near children or pets ensures a safer environment. Lastly, choosing a flat area reduces the risk of accidents during cutting.
Setting Up A Stable Surface
A stable surface holds granite securely during cutting. Use a heavy workbench or saw horses to provide sturdy support. Clamps are essential for securing the granite, preventing movement while cutting. Level the surface to ensure even cuts, facilitating better outcomes. Adding non-slip pads or mats beneath the granite enhances stability. Clear the surrounding area of any obstacles, further promoting safety and efficiency.
Techniques For Cutting Granite
Granite cutting techniques vary based on the tools and methods used. The right technique ensures a precise cut and minimizes damage.
Using A Diamond Blade
Using a diamond blade offers a reliable option for cutting granite. Diamond blades provide the necessary strength to tackle this tough material. They can cut through granite quickly and efficiently without chipping or fracturing. A circular saw equipped with a diamond blade is ideal for straight cuts. For intricate work, a wet saw enhances precision while keeping the blade cool. User experience improves with proper blade selection for different thicknesses. Always prioritize checking compatibility with the chosen saw to ensure optimal results.
Wet Saw vs. Dry Cut Method
Choosing between a wet saw and dry cut method depends on user preference and material thickness. Wet saws ease cutting by using water to cool the blade and suppress dust. This method reduces airborne particles, enhancing safety during the process. Dry cutting, on the other hand, relies on a standard saw with a diamond blade. It allows for more versatility in location but generates more dust, necessitating proper safety gear. Each method has its benefits; wet saws suit larger projects, while dry cuts cater to quick fixes. Opt for wet cutting in poorly ventilated spaces for safety.
Step-By-Step Guide
This section outlines the essential steps in cutting granite at home. Following these steps leads to effective and safe granite shaping.
Measuring And Marking
Begin by determining the desired dimensions. Use a measuring tape for accuracy and ensure every measurement is precise. A marker indicates cutting lines clearly on the granite surface. To improve visibility, one can choose contrasting colors for the marker. Clamps hold the granite securely in place during cutting. Double-check measurements before proceeding, as accuracy at this stage is crucial for successful cuts.
Cutting Process
Start the cutting process with the selected saw. A wet saw is often preferred for its ability to minimize dust while cooling the blade. Make smooth, even cuts along the marked lines. Allow the saw to do the work without forcing it through the granite. Patience plays a key role, as rushing may lead to errors or chipping. Regularly check progress to ensure the cuts align with the initial markings. After completing the cuts, use a grinder for polishing edges, enhancing the overall finish of the granite piece.
Tips For A Successful Cut
Achieving quality cuts when working with granite relies on precision and the ability to correct mistakes that may arise during the process.
Maintaining Precision
First, the measurement process plays a critical role. Use a measuring tape to ensure accuracy and then mark cutting lines clearly with a contrasting marker. Securing the granite with clamps prevents movement while cutting. Employ a wet saw for even and smooth cuts, letting the saw do the work without using excessive force. Maintaining a steady hand throughout the cutting process contributes to avoiding chips and imperfections. Focus on keeping a consistent speed and applying even pressure. Double-check each measurement before making any cuts, as accuracy ensures a professional finish.
Handling Mistakes
Errors can occur during granite cutting, but many mistakes are correctable. If chipping happens, inspect the area to identify the extent of the damage. Using a grinder can help smooth down rough edges effectively. Small misalignments in cuts can often be adjusted during the polishing phase, which allows for a more refined appearance. For deeper issues, it may require re-cutting the affected piece. Taking time to address these problems early helps avoid more complex issues later on. Remaining calm can also assist in resolving mistakes, as rushing could lead to further complications.
Cutting granite at home can be a fulfilling project that transforms spaces with stunning results. With the right tools and a careful approach anyone can achieve professional-looking finishes without the need for expert assistance. Prioritizing safety and preparation is essential for a successful experience.
By taking the time to measure accurately and select the appropriate cutting method individuals can minimize mistakes and enjoy the process. Embracing patience and precision leads to beautiful outcomes whether it’s a countertop or a decorative garden feature. With determination and the right techniques anyone can master the art of cutting granite at home.


