
Recessed lighting doesn’t have to sit flat and flood a room with generic overhead light. Directional recessed fixtures, sometimes called adjustable or eyeball trims, tilt, rotate, and pivot to aim light exactly where it’s needed. They’re the workhorse behind accent lighting on artwork, under-cabinet task lighting alternatives, and focused illumination in kitchens, galleries, and living spaces. Unlike fixed downlights, directional fixtures give homeowners control over beam angle and focal points without surface-mounted hardware cluttering ceilings. If a space feels flat or a corner stays perpetually dim, directional recessed lighting often solves the problem without a major electrical overhaul.
Table of Contents
ToggleKey Takeaways
- Directional recessed lighting provides adjustable trims that tilt and rotate to aim light precisely at artwork, countertops, or architectural features—solving flat lighting problems without major rewiring.
- These fixtures offer flexibility in lighting design, reduced glare, improved energy efficiency, and a clean aesthetic since no visible hardware extends beyond a slim trim ring.
- Choose between gimbal, eyeball, or square trim styles, and select the right housing size (4–6 inches), beam angle (15–25 degrees for accent, 30–40 degrees for balance), and color temperature (warm for living spaces, neutral for task areas).
- Proper placement matters: position directional recessed lights 12–24 inches in front of the target surface and angle them back for optimal depth and contrast.
- Installation requires electrical permitting and code compliance; DIYers can handle remodel (retrofit) housings in finished ceilings, but new circuits and structural modifications typically need a licensed electrician.
- A 4-inch directional LED trim delivers 400–600 lumens at 8–12 watts, while 6-inch versions provide 700–1,000 lumens at 12–18 watts—verify dimmer compatibility to avoid flickering.
What Is Directional Recessed Lighting?
Directional recessed lighting refers to ceiling-mounted fixtures installed into a ceiling cavity (between joists) that feature adjustable trims allowing the light source to swivel or tilt. The housing itself remains fixed in the ceiling, but the visible trim element, often a gimbal ring, eyeball, or adjustable baffle, pivots up to 30–90 degrees depending on the model.
Key components include the housing (the canister that mounts between joists), the trim (the visible ring and adjustable element), and the lamp or LED module (the light source itself). Most modern directional recessed lights use integrated LED modules rated for 50,000+ hours, though some IC-rated housings still accept screw-in LED or halogen bulbs.
Unlike fixed recessed downlights that cast light straight down in a broad flood pattern, directional fixtures concentrate illumination in a narrower beam, typically 15–40 degrees, and can be aimed at walls, countertops, or architectural features. This makes them ideal for accent lighting, task zones, and creating visual interest through controlled contrast.
Benefits of Installing Directional Recessed Lights
Flexibility in lighting design is the primary advantage. Homeowners can highlight art, architectural details, or textured walls without installing track lighting or wall-mounted fixtures. Adjustability also means correcting mistakes: if a fixture ends up slightly off-center from a target, the tilt mechanism compensates.
Reduced glare compared to fixed downlights. By aiming the beam away from seating areas or reflective surfaces, directional trims minimize harsh reflections and eye strain, particularly important in home offices and living rooms with screens.
Energy efficiency improves when light goes where it’s needed rather than spilling across unused floor areas. Pairing narrow beam angles (20–25 degrees) with dimmable LED modules allows precise control over light levels and power draw. Many recessed lighting fixtures now integrate with smart home systems for scheduling and scene programming.
Aesthetic cleanliness: No visible hardware beyond a slim trim ring. Directional recessed lights maintain a minimalist ceiling profile while delivering the focused illumination typically associated with surface-mounted spotlights or track systems.
Types of Directional Recessed Lighting Fixtures
Gimbal trims feature a circular or square outer ring with an inner lamp housing that rotates 360 degrees and tilts up to 35–40 degrees. These are the most common type for residential accent lighting. Look for models with spring-clip retention for easier relamping if using modular LED engines.
Eyeball trims have a spherical or conical inner element that pivots within the housing, offering similar adjustability but a slightly more pronounced visual profile. Some homeowners prefer the modern look: others find it too visible.
Adjustable square trims suit contemporary interiors and often pair with square housings. They provide the same tilt and rotation as round gimbals but maintain cleaner lines in rooms with angular architecture.
Wall wash trims aren’t fully directional but deserve mention: they angle light at a fixed 15–20 degrees toward a wall, creating even vertical illumination. They work well in hallways and rooms where consistent wall lighting matters more than spot-focused beams.
New construction vs. remodel housings: New construction housings mount directly to ceiling joists before drywall goes up. Remodel (retrofit) housings use spring-loaded clips to grip finished ceilings from below. Most directional trims fit either housing type as long as the diameter and brand match.
Where to Use Directional Recessed Lighting in Your Home
Kitchens: Aim adjustable trims at countertops, sinks, or stovetops for task lighting. Install them 18–24 inches out from the wall to avoid shadows cast by upper cabinets. Combine with ambient downlights for balanced illumination.
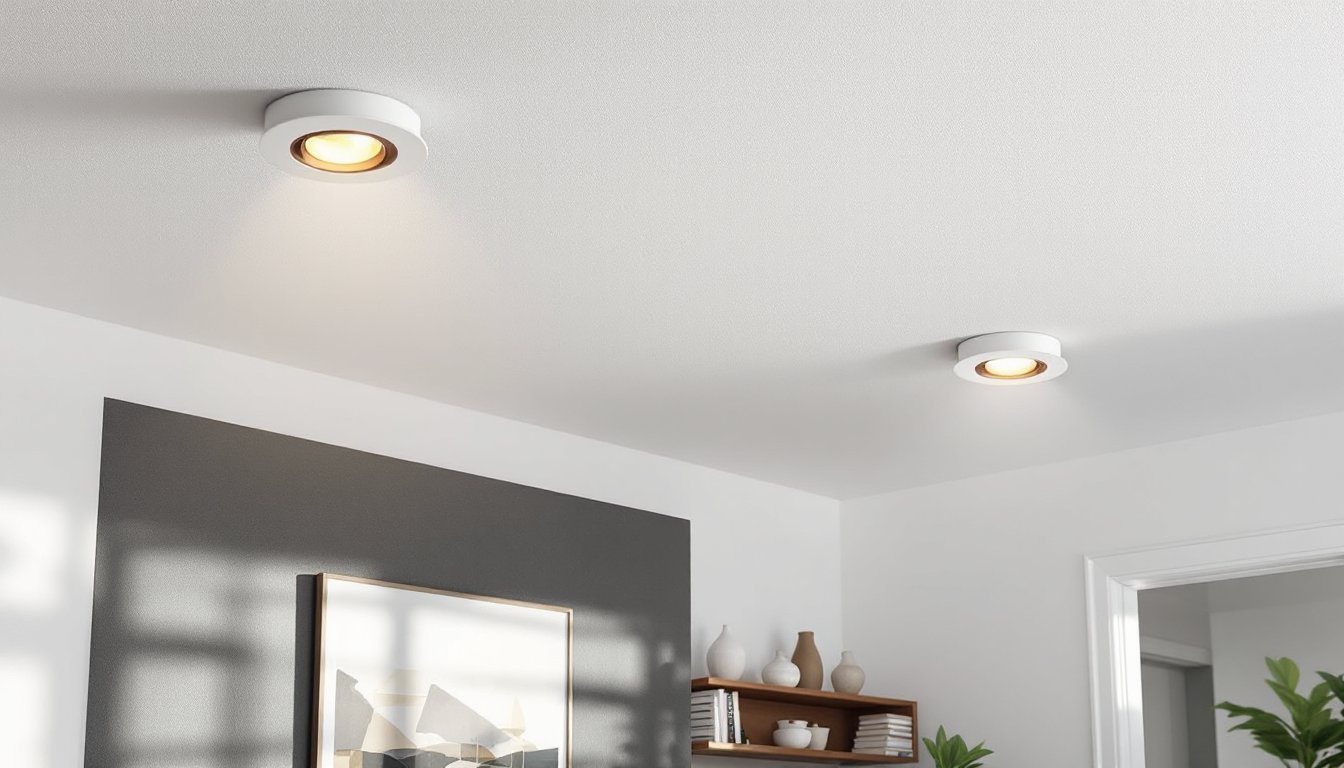
Living rooms and family rooms: Highlight artwork, bookshelves, or textured accent walls. Position fixtures 12–18 inches in front of the target surface and adjust the tilt so the beam strikes the focal point at a slight angle, this adds depth and reduces flat, washed-out lighting.
Home offices: Use directional recessed lights to illuminate desk surfaces or filing zones without glare on monitors. Mounting fixtures slightly behind the desk and angling them forward keeps light off screens.
Hallways and stairways: Accent architectural niches, family photos, or handrails. Directional trims add visual interest in transitional spaces that often feel utilitarian. Many builders overlook focused lighting in these areas, relying on basic overhead fixtures that flatten the space.
Bathrooms: Aim adjustable trims at shower areas or vanity zones to supplement mirror lighting. Check local electrical codes, most jurisdictions require IC-rated, airtight housings in damp or wet-rated locations.
Closets and pantries: Tilt fixtures toward shelving or hanging rods. The narrow beam prevents wasted light at floor level and improves visibility in tight spaces.
How to Choose the Right Directional Recessed Lights
Housing size and type: Standard residential housings come in 4-inch, 5-inch, and 6-inch diameters. Smaller housings (4-inch) suit tight joist spacing and produce tighter beams: 6-inch housings deliver more light output and fit standard 16-inch on-center joist bays. Confirm whether the ceiling is insulated: IC-rated housings are required where insulation contacts the fixture. Non-IC housings need 3 inches of clearance.
Beam angle: Narrow beams (15–25 degrees) create dramatic accent lighting with high contrast. Medium beams (30–40 degrees) balance accent and ambient functions. Wide beams (50+ degrees) blur the line between directional and standard downlights, useful for general task zones but less effective for highlighting specific objects.
Color temperature: 2700K–3000K (warm white) suits living spaces, bedrooms, and dining areas. 3500K–4000K (neutral white) works well in kitchens, bathrooms, and home offices. Some advanced fixtures offer tunable white LED modules that shift color temperature via dimmer or app control.
Lumens and wattage: A 4-inch directional LED trim typically delivers 400–600 lumens at 8–12 watts. A 6-inch version ranges from 700–1,000 lumens at 12–18 watts. For accent lighting, aim for a 3:1 contrast ratio: the highlighted area should be roughly three times brighter than ambient lighting. Use a light meter or smartphone lux app to verify after installation.
Dimming compatibility: Most integrated LED trims require specific dimmer types, usually 0–10V or ELV (electronic low voltage). Standard incandescent dimmers often cause flickering or reduced lifespan. Check the fixture spec sheet and match it to a compatible dimmer. Many trim manufacturers list approved dimmer models.
Trim finish: White trims blend into ceilings: black or bronze finishes add visual weight and suit industrial or modern interiors. Reflector color also matters: white reflectors soften light and reduce glare, while specular (mirror-like) reflectors concentrate the beam for maximum punch.
Installation Tips for DIY Homeowners
Permitting and electrical code: Adding new recessed fixtures usually requires an electrical permit and inspection. Work must comply with NEC (National Electrical Code) standards, including proper cable types, box fill calculations, and GFCI protection in wet locations. If tapping into an existing circuit, verify the circuit can handle additional load, most 15-amp lighting circuits support 12–15 LED recessed fixtures before nearing capacity.
Tools and materials: Expect to use a drywall saw or hole saw (typically 4⅝-inch for a 4-inch housing, 6⅜-inch for 6-inch), drill/driver, wire strippers, voltage tester, and a stud finder. For remodel housings, spring clips do the securing: for new construction, you’ll need mounting brackets that nail to joists. Always wear safety glasses and a dust mask when cutting drywall overhead.
Layout and spacing: Avoid placing directional trims directly over the target, light quality improves when fixtures sit 12–24 inches in front of the object and angle back. For wall washing or artwork, position the fixture one-third the wall height away from the wall (e.g., for an 8-foot ceiling, place the fixture roughly 32 inches out).
Wiring: Most residential recessed lights connect via 14/2 or 12/2 NM-B cable (Romex). Run cable from the switch box to the first fixture, then daisy-chain to additional fixtures. Use wire nuts rated for the conductor size and secure cable with appropriate staples or clamps. If working in an attic above an insulated ceiling, handle insulation carefully and restore it around IC-rated housings after installation.
Aim and adjustment: After energizing the circuit, adjust each gimbal or eyeball trim to target the intended surface. Fine-tune beam angles with the room darkened to see spill and shadows clearly. Many DIYers rush this step, leaving fixtures misaligned.
Retrofit vs. new work: Remodel housings simplify installation in finished ceilings but offer less flexibility if joist spacing is tight. If joists land where you need a fixture, notching or cutting structural members is often prohibited by code, consult a structural engineer or adjust the layout. For major renovations, consider fishing wire during other remodeling projects to save on labor and mess.
Conclusion
Directional recessed lighting turns ceilings into flexible, focused light sources without visible hardware. Choosing the right housing type, beam angle, and color temperature ensures fixtures perform as intended, while proper layout and aiming deliver the contrast and depth that make spaces feel layered and intentional. Most DIYers can handle remodel installations with care and patience, but new circuits and structural modifications often call for a licensed electrician. Done right, adjustable recessed trims solve lighting problems that broad downlights never touch.


