
Your landscape lighting looked sharp when it was first installed, crisp beams highlighting your trees, path lights guiding visitors, and uplights showcasing your home’s architecture. But six months in, half the fixtures are dim, lenses are clouded with grime, and one section won’t turn on at all. Sound familiar? Outdoor lighting takes a beating from weather, insects, soil splash, and UV exposure. Without regular maintenance, even quality fixtures lose their punch fast. The good news is that keeping your system in top shape doesn’t require an electrician’s license or a full Saturday. Most maintenance tasks take minutes, and the payoff is years of reliable illumination and curb appeal.
Table of Contents
ToggleKey Takeaways
- Regular landscape lighting maintenance prevents a 40% or more loss in light output and protects your investment from costly emergency repairs and fixture replacements.
- Monthly maintenance tasks—including lens wiping, vegetation clearing, and connection inspections—take only 15–30 minutes and catch small issues before they cascade into system failures.
- Dirty lenses, corroded connections, and moisture intrusion are the primary culprits behind dim, flickering, or non-functional outdoor lights and can be resolved with basic tools and dielectric grease.
- Upgrading to LED fixtures reduces energy consumption by 75–80%, generates less heat stress on components, and lasts 25,000–50,000 hours compared to 2,000–4,000 hours for halogen bulbs.
- Seasonal deep cleaning in spring and fall—including gasket replacement, wire burial depth verification, and transformer inspection—prevents moisture damage and extends system longevity.
- Using quality waterproof wire connectors, applying dielectric grease to all connections, and maintaining a log of serviced fixtures are smart habits that eliminate corrosion and keep your landscape lighting system running reliably for years.
Why Regular Landscape Lighting Maintenance Matters
Ignoring landscape lighting maintenance isn’t just about aesthetics, it’s about safety, energy efficiency, and protecting your investment. Dirty lenses can cut light output by 40% or more, forcing the system to work harder and shortening bulb life. Corrosion on connections creates resistance, generating heat that can damage transformers or create fire hazards.
Moisture intrusion is the silent killer of outdoor lighting. Even fixtures rated IP65 or IP67 (indicating dust-tight and waterproof construction) can fail if gaskets dry out or lenses crack from freeze-thaw cycles. Water inside a fixture leads to short circuits, corroded sockets, and failed LEDs.
Regular upkeep also helps you catch small issues before they cascade. A loose wire connection might dim one light today, but leave it unchecked and you’re looking at voltage spikes that take out an entire zone. Scheduled maintenance typically costs nothing but time, while emergency repairs or full fixture replacements can run hundreds of dollars.
Essential Tools and Supplies for Outdoor Lighting Upkeep
You don’t need a truck full of gear to maintain landscape lighting. Most tasks require just a few common items:
Cleaning supplies:
- Microfiber cloths (won’t scratch polished lenses)
- Mild dish soap or vinegar solution
- Soft-bristle brush for textured fixtures
- Automotive plastic polish for oxidized lenses
- Isopropyl alcohol for electrical contacts
Tools:
- Phillips and flathead screwdrivers
- Adjustable wrench or socket set (for fixture stakes and mounting hardware)
- Wire strippers and electrical tape
- Multimeter (for voltage checks, most low-voltage systems run 12V or 24V)
- Silicone-based dielectric grease (prevents corrosion on connections)
- Replacement gaskets and O-rings (check your fixture manufacturer’s specs)
Safety gear:
- Work gloves (fixtures get hot, even LEDs generate heat at the junction)
- Safety glasses (when working near eye level or overhead)
Keep a small notebook or phone app to log which fixtures you’ve serviced and when. It sounds fussy, but when you have 20+ lights spread across a property, you’ll forget which ones you cleaned last month.
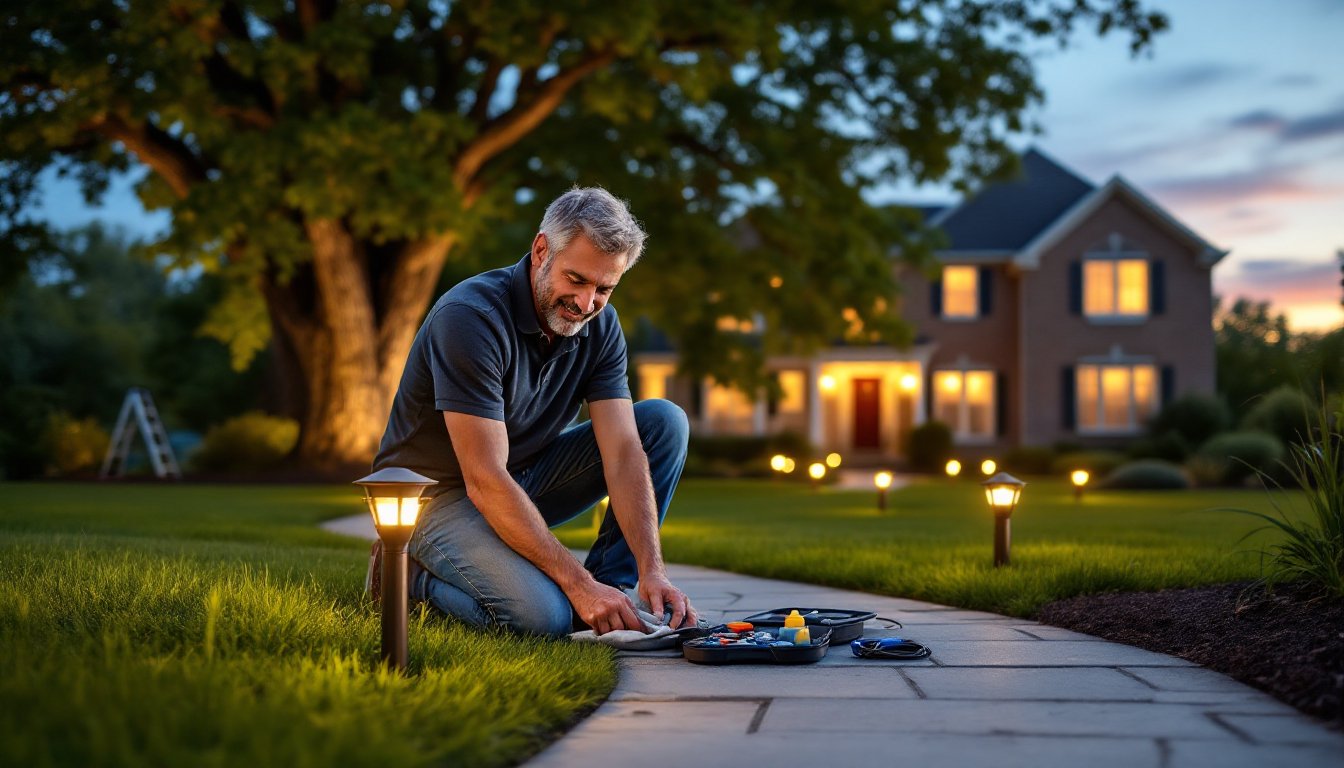
Monthly Maintenance Tasks to Keep Your Lights Shining
Set a recurring calendar reminder for these quick checks. They take 15–30 minutes depending on system size:
-
Walk the property after dark. Look for dim or dead fixtures, flickering, or lights aimed in the wrong direction (frost heave and lawn equipment can shift fixtures).
-
Wipe down lenses. Use a damp microfiber cloth to remove dust, pollen, spider webs, and water spots. If lenses look cloudy even when clean, they may need polishing, save that for seasonal deep cleaning.
-
Clear vegetation. Trim back plants that have grown over fixtures or pathway lights. Blocked lights not only lose effectiveness but also trap moisture against the fixture body.
-
Check for standing water. Look around in-ground fixtures and path lights. Poor drainage can submerge connections or corrode fixture bases. If water pools regularly, consider regrading or adding drainage.
-
Inspect visible wire connections. Look at any above-ground wire nuts, splice connectors, or terminal blocks. If you see green corrosion (copper oxidation) or white/gray crud (aluminum oxidation), clean and reseal the connection. Even well-designed lighting control systems can fail if connections degrade.
-
Test the timer or controller. Make sure lights turn on and off at the correct times. If you’re using a photocell, verify it’s not obstructed by leaves or spider webs.
Seasonal Deep Cleaning and Inspection Checklist
Twice a year, ideally spring and fall, go deeper:
Lens restoration: Fogged or yellowed polycarbonate lenses can often be restored with automotive plastic polish and some elbow grease. Techniques for cleaning landscape lighting lenses include using fine-grit sandpaper (2000–3000 grit) followed by polish for badly oxidized fixtures. Test on an inconspicuous spot first.
Gasket and seal check: Remove lens covers and inspect rubber gaskets or O-rings. If they’re cracked, brittle, or compressed flat, replace them. Most fixture manufacturers sell gasket kits for $5–$15.
Socket and bulb inspection: Even LED fixtures have removable drivers or modules. Check for corrosion inside sockets, especially on older halogen or incandescent fixtures that generate more heat. Apply dielectric grease to threads and pins when reassembling.
Wire burial depth: Frost heave, erosion, and digging critters can expose buried wire. Low-voltage landscape lighting wire should be buried 6–12 inches deep (check local codes, some jurisdictions require conduit for any buried wiring). If wire is exposed, rebury it and mark the path on a property sketch.
Transformer inspection: Open the transformer enclosure and look for signs of overheating (discolored wires, melted insulation), loose connections, or moisture. Check the manufacturer’s total wattage or VA (volt-ampere) rating and confirm your connected load doesn’t exceed 80% of capacity.
Photocell and timer function: Test photocells by covering them during daylight, lights should turn on. Clean the sensor window with glass cleaner. If using a mechanical timer, replace the backup battery if equipped.
Troubleshooting Common Landscape Lighting Problems
When things go wrong, start with the simplest explanation:
Fixture won’t light:
- Check the bulb or LED module (yes, LEDs can fail).
- Measure voltage at the fixture with a multimeter. Low-voltage systems should read within 10–12V at the fixture (some voltage drop over distance is normal).
- Inspect wire connections, corrosion and loose wire nuts are the top culprits.
- Look for damaged wire (nicked insulation, cuts from edging tools).
Dim lights or lights that fade over time:
- Excessive voltage drop from undersized wire. 12 AWG wire is standard for runs up to 100 feet: longer runs may need 10 AWG.
- Dirty lenses or corroded sockets reducing light output.
- Overloaded transformer (total fixture wattage exceeds transformer capacity).
Flickering:
- Loose connection at the fixture, transformer, or splice point.
- Incompatible dimmer or controller (not all LED fixtures play nice with all dimmers).
- Voltage fluctuations from a struggling transformer.
Water inside the fixture:
- Failed gasket or cracked lens (replace both).
- Improper installation (some fixtures require silicone sealant around the lens rim, even with a gasket).
- Condensation (less common with LEDs, which generate less heat than halogens).
Lights turn on during the day:
- Photocell obstructed or dirty.
- Failed photocell sensor (replace if cleaning doesn’t help, they’re typically $10–$20).
If voltage checks out and connections are clean but a fixture still won’t work, the internal driver or LED array may have failed. LED modules in quality fixtures are often replaceable without buying a whole new fixture, check the manufacturer’s parts availability.
Extending the Lifespan of Your Outdoor Lighting System
Smart habits prevent headaches:
Use quality wire connectors. Skip the cheap wire nuts from the big-box store multi-pack. Use silicone-filled, waterproof connectors rated for direct burial or outdoor use. They cost a bit more but eliminate most corrosion issues.
Apply dielectric grease liberally. A dab on every connection, bulb bases, wire splices, transformer terminals, repels moisture and prevents oxidation. One tube lasts for years and costs under $10.
Avoid overloading zones. Divide your system into multiple runs rather than daisy-chaining every fixture on one circuit. Not only does this reduce voltage drop, but if one run fails, you don’t lose the entire system.
Upgrade to LED if you haven’t already. LED fixtures use 75–80% less energy than halogen, generate less heat (which stresses components), and typically last 25,000–50,000 hours compared to 2,000–4,000 for halogen. The upfront cost is higher, but ROI comes within 2–3 years on energy savings alone.
Protect transformers from the elements. Even weatherproof transformers fare better mounted under eaves, in covered enclosures, or inside a garage. If your transformer is pole-mounted in the open, consider adding a rain shield.
Mark your wire paths. Take photos or sketch where wire runs before mulch and plants fill in. When you’re digging post holes or planting a new shrub three years later, you won’t accidentally slice through a wire.
Keep spare parts on hand. A couple of spare bulbs or LED modules, extra wire connectors, and a replacement photocell mean you can fix problems immediately rather than waiting for parts to ship. Home design enthusiasts often check resources like The Spruce for additional maintenance tips that keep systems running smoothly.
Finally, if you’re expanding your system or considering more advanced controls, research your options. Wireless controls, smartphone integration, and zoning strategies all add convenience, but they also introduce complexity, make sure you’re comfortable troubleshooting before you install.
Conclusion
Landscape lighting maintenance isn’t glamorous, but it’s straightforward and pays dividends. A few minutes each month keeps fixtures bright, prevents costly failures, and ensures your outdoor spaces stay safe and inviting year-round. Treat your lighting like any other home system, a little attention now saves a lot of trouble later. Now grab a rag and a screwdriver, and go give those fixtures some love.


