
Commercial Electric has become a go-to brand for homeowners tackling recessed lighting projects without the markup of contractor pricing. Whether you’re retrofitting a basement, adding task lighting to a kitchen, or upgrading an entire home, understanding how these fixtures work, and how to install them correctly, can save both money and frustration. This guide walks through everything from housing types to wiring basics, with a focus on getting code-compliant results on the first attempt. Grab your wire stripper and voltage tester: we’re diving into the details that separate a clean install from a callback.
Table of Contents
ToggleKey Takeaways
- Commercial electric recessed lighting offers 30–50% cost savings compared to name-brand alternatives while meeting UL and NEC safety standards, making it ideal for whole-house retrofits.
- IC-rated housings are essential in insulated ceilings to prevent fire hazards and code violations; non-IC cans require a 3-inch clearance and only work in uninsulated spaces.
- Proper installation requires careful circuit planning, correct wire gauge matching (14 AWG for 15-amp, 12 AWG for 20-amp), and compliance with NEC spacing and support requirements to avoid safety issues and permit failures.
- 6-inch commercial electric recessed fixtures with integrated LED modules (50,000-hour rated) typically produce 600–900 lumens and should be spaced 4–6 feet apart for even, energy-efficient lighting coverage.
- Color temperature selection (2700K for bedrooms, 3000K for kitchens, 4000K–5000K for task areas) and trim style (baffle, reflector, or eyeball) directly impact both aesthetics and functional performance in different room types.
- Common installation mistakes like ignoring IC-ratings, overloading circuits, and skipping strain relief create fire hazards and code violations; when in doubt, hire a licensed electrician for circuit rough-in work.
What Is Commercial Electric Recessed Lighting?
Commercial Electric is The Home Depot’s private-label line of lighting products, including recessed fixtures designed to meet UL and NEC standards at a budget-friendly price point. These fixtures include housings (the metal can that sits in the ceiling), trims (the visible decorative ring or baffle), and in many cases, integrated LED modules.
The “commercial” designation doesn’t mean they’re only for commercial buildings, it refers to the brand name, not the application. You’ll find options suitable for residential remodels, new construction, damp locations (covered patios), and even airtight-rated housings for energy-conscious builds.
Most Commercial Electric recessed lights use standardized 6-inch or 4-inch housings, making trim and bulb replacement straightforward. The line includes both new-construction housings (nailed directly to joists before drywall goes up) and remodel or retrofit housings (clipped into finished ceilings through a hole). For DIYers, the remodel cans are usually the starting point, they don’t require attic access and install in under an hour per fixture once wiring is in place.
Key Benefits of Choosing Commercial Electric for Your Home
Cost-effectiveness is the primary draw. Commercial Electric fixtures typically run 30–50% less than name-brand equivalents like Halo or Juno, while still carrying UL listing and a manufacturer warranty. For a whole-house retrofit, that difference adds up fast.
Availability matters when you’re mid-project. Because these are Home Depot exclusives, you can grab a replacement trim or housing without waiting for shipping or hunting specialty electrical suppliers. That same-day pickup is a lifesaver when you discover you’re one fixture short on a Saturday afternoon.
Integrated LED modules eliminate the guesswork of bulb compatibility. Many current Commercial Electric models come with built-in LEDs rated for 50,000 hours, which translates to roughly 20 years at typical residential use. You’re not wrestling with whether a BR30 or PAR30 bulb fits, the light engine is already locked in, usually with selectable color temperature (2700K warm white to 5000K daylight) via a switch on the fixture.
Energy compliance is baked in. Most integrated LED models meet or exceed Title 24 (California) and ENERGY STAR requirements, pulling 9–15 watts per fixture versus the 65–75 watts of old incandescent cans. Over a dozen fixtures, that’s a measurable dent in the electric bill.
For those in regions with smart home technology ecosystems, several Commercial Electric lines are compatible with smart dimmer switches, allowing app-based control and scheduling without needing individual smart bulbs in every socket.
Types of Commercial Electric Recessed Lights
Understanding housing types prevents costly mistakes. The two main categories are new construction and remodel, but within those, you’ll encounter IC-rating, airtight (AT) rating, and shallow-ceiling options.
New-construction housings have adjustable metal bars that nail directly to ceiling joists before drywall installation. They’re rock-solid and allow you to position fixtures precisely, but they’re impractical if your ceiling is already closed up.
Remodel (retrofit) housings use spring clips that grip the drywall from above. You cut a hole with a hole saw, fish the electrical cable, and snap the housing into place. No attic access required in most cases, though running new wire may still need it.
Shallow-ceiling or “slim” cans fit in ceiling cavities as shallow as 3 inches, handy when you’re working below a second-floor bathroom or HVAC ductwork that limits clearance. These usually have less adjustability (no tilting trims), but they fit where standard 7-inch housings won’t.
IC-Rated vs. Non-IC-Rated Housings
IC-rated housings are designed for direct contact with insulation. The “IC” stands for insulation contact. These fixtures have thermal protection that shuts off the light if it overheats, preventing fire risk when buried in blown-in cellulose or fiberglass batts. If your ceiling has insulation above it, and most exterior-facing ceilings do, you must use IC-rated cans. Non-IC housings require a 3-inch clearance around the entire fixture, which is nearly impossible to maintain once insulation settles.
Non-IC-rated housings cost slightly less and run a bit cooler (no insulation trapping heat), but they’re only code-compliant in uninsulated spaces like garages or between-floor ceilings in conditioned space. Using a non-IC can in an insulated ceiling is a code violation and a fire hazard. When in doubt, buy IC-rated, it works in both scenarios.
Airtight (AT) ratings are a separate feature. AT-rated housings have gasketed seams that prevent conditioned air from leaking into the attic. In energy-efficient builds or climates with extreme temperature swings, AT-rated fixtures pay for themselves in reduced heating and cooling loss. They’re often required under newer energy codes like the International Energy Conservation Code (IECC).
Selecting the Right Size and Trim Style
Fixture size dictates light output and visual proportions. The standard 6-inch housing is the workhorse for general ambient lighting in living rooms, bedrooms, and kitchens with 8- to 9-foot ceilings. It typically produces 600–900 lumens (LED equivalent of a 65-watt incandescent). Space 6-inch cans 4 to 6 feet apart for even coverage: closer for task areas, wider for ambient wash.
4-inch housings suit hallways, closets, and accent lighting. They’re less obtrusive visually and work well in tighter grids. Lumens drop to 400–650 per fixture, so you’ll need more of them or accept dimmer overall light.
3-inch micro cans are niche, used in cabinets, soffits, or ultra-low-profile retrofits. They rarely appear in primary living spaces due to limited output.
Trim style affects both aesthetics and beam spread. Options include:
- Baffle trim: Ribbed interior reduces glare: works in bedrooms and living areas where you want soft, diffused light.
- Reflector trim: Smooth white or metallic finish maximizes light output: ideal for task lighting in kitchens or workshops.
- Eyeball or gimbal trim: Adjustable to aim light at walls, artwork, or countertops. Useful for accent or directional lighting.
- Shower trim: Gasketed lens for damp or wet locations (IP-rated). Required in shower stalls: overkill for general bathrooms unless directly above the tub.
For expert advice on recessed lighting placement strategies, consider room function first: kitchens need tighter spacing over counters, while living rooms benefit from wider, layered layouts.
Color temperature (measured in Kelvin) matters as much as trim. 2700K mimics incandescent warmth, best for bedrooms and dining areas. 3000K is neutral white, popular in kitchens. 4000K–5000K skews blue-white, suited to garages or task-heavy spaces. Many Commercial Electric LEDs have a toggle switch on the junction box to select your preferred temperature before installation.
Step-by-Step Installation Guide for DIY Homeowners
Safety first: Shut off power at the breaker, not just the switch. Use a non-contact voltage tester to confirm the circuit is dead before touching any wires. Wear safety goggles when drilling overhead: drywall dust and metal shavings fall straight into your eyes.
Gather tools and materials:
- Remodel recessed housing (IC-rated if insulation is present)
- Hole saw (typically 6-1/8 inches for 6-inch cans: check housing specs)
- 14/2 or 12/2 NM-B (Romex) cable to match existing circuit gauge
- Wire connectors (twist-on or push-in)
- Drywall saw or keyhole saw
- Stud finder
- Drill/driver
- Wire stripper
- Voltage tester
Step-by-step:
-
Plan layout: Mark fixture centerpoints on the ceiling. Avoid placing cans closer than 6 inches to a wall or directly over a joist (you need clearance for the housing). Use a stud finder to locate joists: position fixtures between them.
-
Cut the hole: Attach the hole saw to your drill and cut slowly to prevent the bit from grabbing. If you hit a joist, shift the fixture location a few inches. A drywall saw works for fine-tuning the opening if the hole saw wandered.
-
Run cable: If adding a new circuit, run 14/2 NM-B (for 15-amp circuits) or 12/2 NM-B (for 20-amp circuits) from the breaker panel to the first fixture, then daisy-chain to subsequent fixtures. Staple cable every 4 feet and within 12 inches of boxes per NEC Article 334.30. In finished ceilings, you may need to fish wire through the attic or use a flex bit. This is the hardest part: if you’re uncomfortable working in attics or with live panels, hire a licensed electrician for the rough-in.
-
Connect the fixture: Strip ½ inch of insulation from cable ends. Most remodel housings have an integrated junction box with quick-connect push-in terminals: push black (hot) to brass/black terminal, white (neutral) to silver/white, and bare copper (ground) to green screw. If using twist-on connectors, match black-to-black, white-to-white, ground-to-ground, and twist clockwise until snug. Tuck wires neatly into the junction box.
-
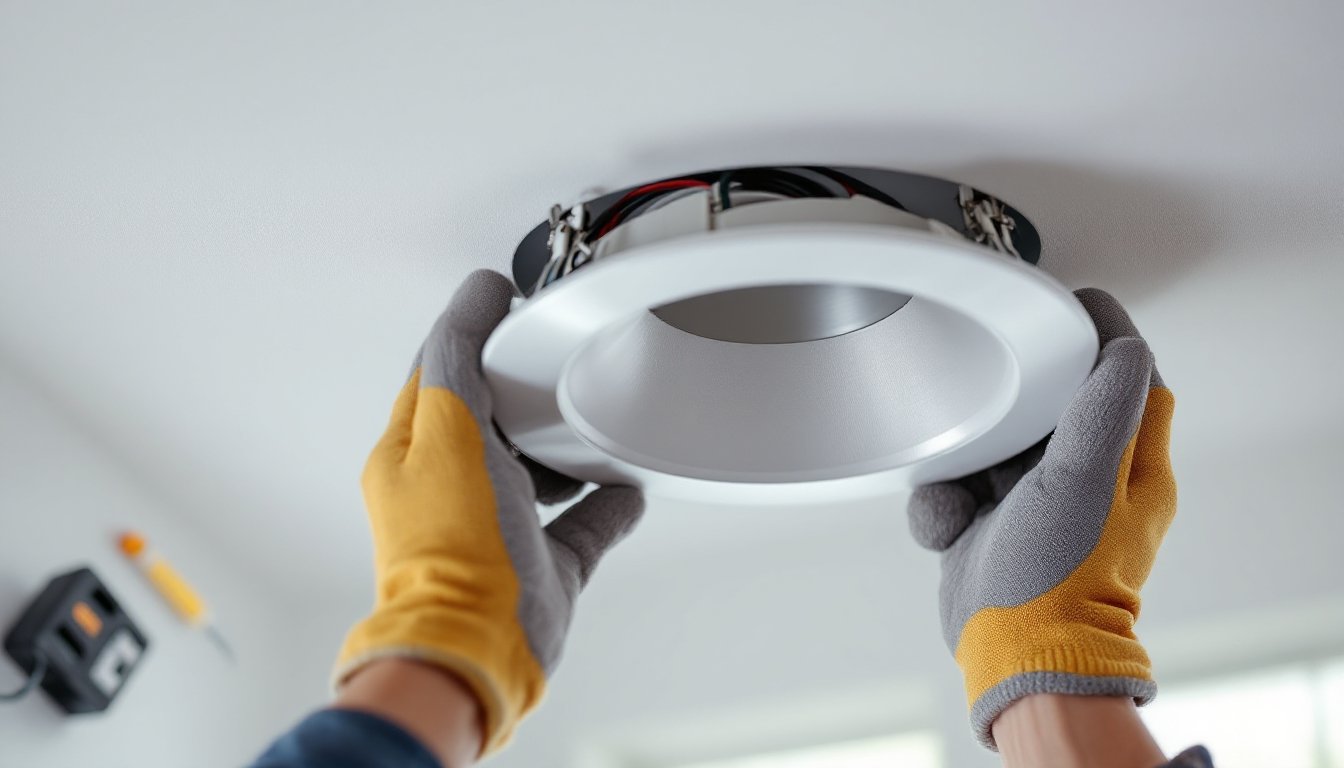
Install the housing: Push the housing through the ceiling hole. The spring clips will automatically grip the drywall as you push. Some models require you to manually pull the clips up into the locked position. The trim flange should sit flush against the ceiling.
-
Attach trim and bulb (if not integrated LED): Snap the trim into the housing. For screw-base trims, install the LED bulb before clipping the trim in place to avoid fumbling overhead.
-
Restore power and test: Flip the breaker back on and test each fixture. If a light doesn’t work, check wire connections and verify the switch is on.
Permit considerations: Many jurisdictions require an electrical permit for adding new circuits or more than a handful of fixtures. Replacing existing fixtures one-for-one typically doesn’t, but check with your local building department. Inspections focus on proper cable support, junction box fill calculations (how many wires you can legally stuff in a box), and GFCI/AFCI protection on circuits as required by current NEC.
Common Installation Mistakes to Avoid
Ignoring IC-rating in insulated ceilings: This tops the list. Using non-IC cans in insulated spaces is a fire code violation. Inspectors will red-tag it, and insurance adjusters take note after a fire.
Overloading circuits: A 15-amp circuit can handle roughly twelve 10-watt LED fixtures or eight 15-watt LEDs (leave 20% headroom per NEC). Don’t add recessed lights to a circuit already maxed out by outlets and other loads. If breakers trip after install, you’ve overloaded the circuit: split the load or run a dedicated circuit.
Incorrect wire gauge: Match cable gauge to the breaker size. 14 AWG for 15-amp circuits, 12 AWG for 20-amp. Using 14-gauge wire on a 20-amp breaker is a fire hazard.
Skipping strain relief: When feeding cable into a metal housing without a built-in cable clamp, install a NM cable connector to protect wire insulation from sharp edges. Friction against metal can eventually wear through insulation and cause a short.
Poor spacing and layout: Placing all fixtures in a straight row down the center of a room creates a runway effect and leaves corners dark. Stagger fixtures or use two parallel rows for better coverage. If you’re unsure about optimal recessed lighting layouts, mock up the pattern with painter’s tape on the ceiling before cutting holes.
Forgetting dimmers: Not all LED fixtures are dimmable, and not all dimmers work with LEDs. If you want dimming control, confirm the fixture is dimmable and pair it with an LED-compatible dimmer (look for “LED” or “CFL” on the dimmer packaging). Old incandescent dimmers cause LEDs to flicker or hum.
Neglecting thermal clearance: Even IC-rated cans need a little breathing room. Don’t pack insulation down hard on top of the fixture: let it sit naturally. Compressed insulation reduces R-value and can still cause overheating in extreme cases.
Cutting holes before verifying joist locations: Always use a stud finder first. Cutting into a joist means patching drywall and relocating the fixture. Measure twice, cut once still applies.
If any of these steps feel beyond your skill level, especially running new circuits or working in tight attics, there’s no shame in calling a licensed electrician for the rough-in. You can still handle trim installation and save on labor while ensuring the backbone of the system is code-compliant and safe.


