
Glass pendant lights transform kitchens from functional spaces into rooms with character. They’re workhorses that provide task lighting over islands and counters while adding architectural interest above head height. Unlike solid shades, glass lets light spread further and keeps sightlines open, critical in kitchens where visibility matters. Whether someone’s upgrading builder-grade fixtures or finishing a remodel, glass pendants deliver impact without overwhelming the space. This guide covers glass types, sizing, placement math, installation steps, and upkeep to help homeowners pick and install fixtures confidently.
Table of Contents
ToggleKey Takeaways
- Kitchen pendant lighting glass allows light to spread farther than solid materials, providing superior task lighting over islands and work surfaces while maintaining open sightlines.
- Choose between clear, seeded, frosted, or textured glass based on your priorities—clear maximizes brightness, frosted reduces glare, and textured finishes hide smudges while adding visual character.
- Proper sizing and spacing prevent imbalance: subtract 12 inches from island width and divide by the number of pendants to determine ideal diameter, then hang 30–36 inches above countertops.
- DIY installation of glass pendant lights is achievable for most homeowners using basic tools and following step-by-step wiring procedures, though new circuits or knob-and-tube wiring require a licensed electrician.
- Regular maintenance keeps glass pendants looking sharp—wipe weekly with microfiber cloth, deep clean monthly, and check hardware screws every six months to prevent loosening from kitchen vibrations.
- LED bulbs rated 60–75 watt equivalents with warm white (2700–3000K) color temperature provide cozy ambiance while lasting 15,000–25,000 hours, eliminating frequent bulb changes.
Why Glass Pendant Lights Are Perfect for Your Kitchen
Glass beats most other pendant materials on several fronts. Light transmission is the big one, clear or lightly textured glass shades let a 60-watt-equivalent LED spread farther than a metal drum or fabric shade that blocks half the output. That matters over work zones where task lighting prevents mistakes.
Durability is the second advantage. Quality borosilicate or tempered glass resists heat from bulbs and stands up to kitchen humidity better than paper, fabric, or thin metal that corrodes. Glass won’t yellow, warp, or absorb cooking odors.
Cleanability is straightforward. Grease and steam settle on every surface near a range, but glass wipes down with standard cleaner and a microfiber cloth. Textured finishes hide minor splatters between deep cleans.
Style versatility runs from industrial Edison-bulb cages with clear globes to mid-century milk glass spheres and art-glass statement pieces. Glass adapts to farmhouse, modern, transitional, and traditional kitchens without dating the space. Most kitchen design platforms highlight glass pendants as a safe, adaptable choice that won’t clash with future cabinet or backsplash updates.
Types of Glass Kitchen Pendant Lights to Consider
Not all glass is equal. Shape, thickness, and finish change how light behaves and how the fixture reads in the room.
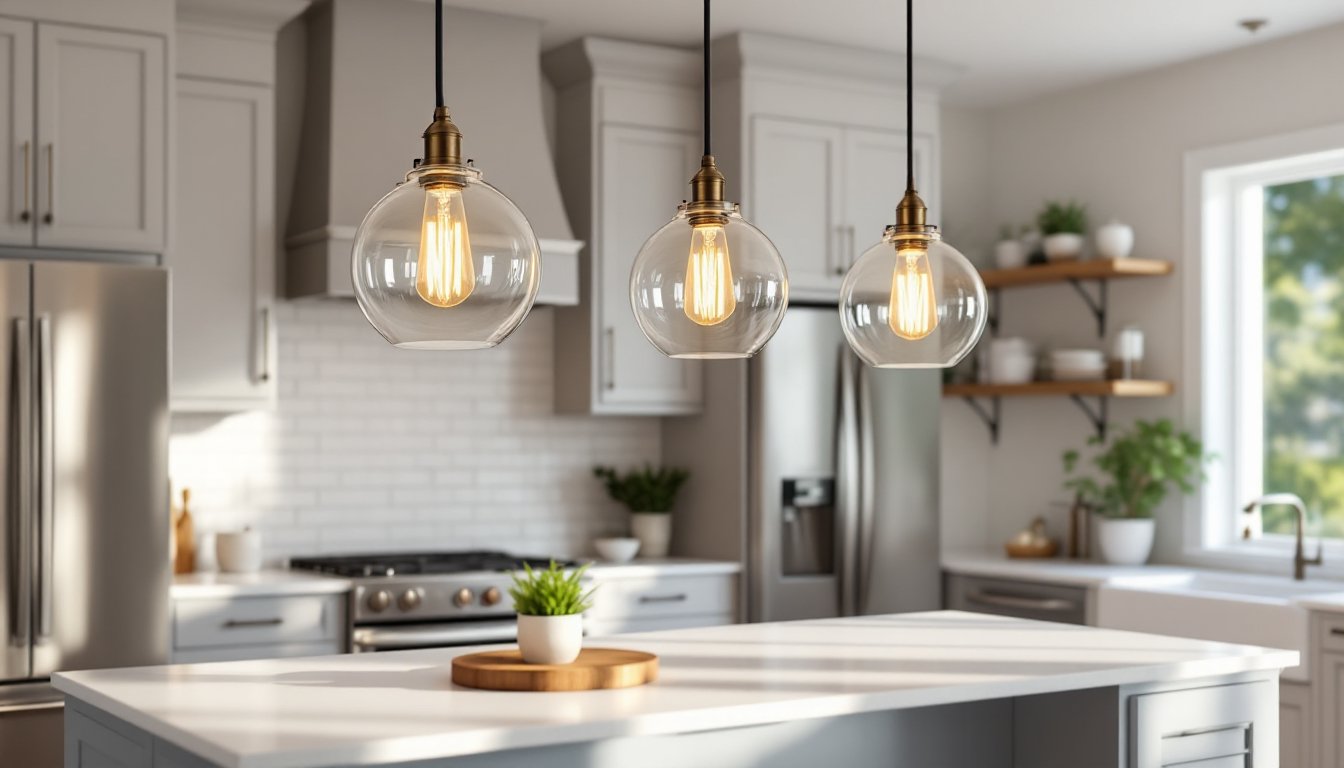
Clear Glass Pendants
Clear glass maximizes brightness and shows off decorative bulbs. Globe, cylinder, and teardrop shapes are common. Edison-style filament bulbs pair well, their warm glow and visible coils add interest inside a transparent shade.
Clear glass works best when the bulb itself is attractive or when maximum light spread is needed. The downside: every fingerprint, dust speck, and dead bug shows. Someone installing clear pendants should plan on weekly wiping.
Seeded or rippled clear glass is a smart middle ground. The texture diffuses light slightly and hides imperfections without blocking output. Bubbled, hammered, or seeded glass adds vintage character that softens modern kitchens or reinforces farmhouse aesthetics.
Thickness affects both durability and appearance. Hand-blown glass often runs 3–5 mm thick with slight irregularities that catch light. Machine-made shades are thinner (2–3 mm) and more uniform. Thicker glass feels substantial and resists breakage during installation or cleaning, but adds weight, important for retrofit boxes with weight limits.
Frosted and Seeded Glass Options
Frosted glass (also called etched or satin glass) diffuses light evenly and hides the bulb. It cuts glare, making it ideal over islands where people sit and look up. Frosted finishes range from light translucent whites to heavy opal milk glass that nearly blocks the bulb from view.
Milk glass delivers a soft, even glow and suits vintage or cottage-style kitchens. It pairs well with warm white LEDs (2700–3000K) that enhance the creamy tone. Collections on sites like Remodelista’s pendant roundup often feature milk glass for its timeless appeal.
Colored or tinted glass, like amber, smoke gray, or green, adds personality but filters light output and color temperature. Amber glass warms white light and works in spaces with wood tones. Smoke gray reads modern and industrial. Avoid heavy tints in kitchens with limited natural light: they’ll make the space feel dim.
Textured finishes like ribbed, fluted, or prismatic glass split the difference. They diffuse light without heavy frosting, hide smudges, and add visual interest when fixtures are off. They’re practical for homes with kids or high traffic.
How to Choose the Right Glass Pendant Size and Placement
Proper sizing and spacing prevent a kitchen from feeling off-balance. Too-small fixtures disappear: too-large pendants overwhelm and obstruct sightlines.
Diameter guidelines: For island lighting, subtract 12 inches from the island width (in inches), and divide by the number of pendants. A 48-inch-wide island with two pendants works with 18-inch-diameter fixtures (48 – 12 = 36 ÷ 2). Single large pendants should be 12–20 inches in diameter depending on island length. Pendants over a peninsula or dining table follow similar math but allow slightly larger shades.
Height matters: Hang pendant bottoms 30–36 inches above the countertop for islands and work surfaces. Shorter homeowners may prefer 30 inches for better sightlines: taller folks can go 36 inches without head clearance issues. Over dining tables, raise that to 32–40 inches to avoid blocking conversation.
Spacing: For multiple pendants, center them over task zones and leave 24–30 inches between fixtures. On an island with seating, align pendants with where chairs sit, not dead-center. Browsing kitchen pendant galleries shows how spacing affects balance in real installations.
Bulb wattage and color temp: Glass pendants accept various bulb types. LED bulbs rated for 60–75 watt equivalents (800–1100 lumens) handle most task lighting. Choose 2700–3000K (warm white) for cozy ambiance or 3500–4000K (neutral white) for crisp, true-color work lighting. Dimmable LEDs add flexibility.
Electrical box capacity: Most retrofit ceiling boxes support 50 pounds total. Glass pendants with metal hardware typically weigh 3–8 pounds each. Check the box rating before hanging multiple heavy fixtures. If installing new boxes, use pancake boxes rated for fixture weight or fan-rated boxes for extra margin.
Installing Glass Pendant Lights: A DIY-Friendly Project
Swapping pendant lights is approachable for most DIYers. It’s faster than wiring a new circuit but still requires attention to detail.
Tools and materials needed:
- Non-contact voltage tester
- Wire strippers
- Screwdrivers (flat and Phillips)
- Pliers
- Adjustable wrench (for some mounting hardware)
- Ladder or step stool
- Wire nuts (often included with fixture)
- Electrical tape
- Safety glasses (working overhead with glass fixtures)
Step-by-step process:
-
Kill power at the breaker, not just the switch. Test wires with a non-contact voltage tester before touching anything. Kitchen circuits often share breakers with outlets, verify everything’s dead.
-
Remove old fixture. Unscrew the canopy, disconnect wire nuts, and lower the fixture. If the old pendant used a chain or rod, unthread it from the mounting bracket.
-
Check the box and mounting hardware. Most modern pendants use a crossbar screwed into the electrical box. If the old fixture used a different mounting method, install the new crossbar included with the pendant. Ensure the box is secure, if it wiggles, add screws into the joist or install a retrofit brace.
-
Assemble the pendant. Thread the power cord through the canopy, rod, or chain before wiring. Glass shades often attach last, leave them off until wiring is complete to avoid breakage.
-
Wire connections: Match colors, black (hot) to black, white (neutral) to white, green or bare copper (ground) to ground. Twist wires clockwise, cap with wire nuts, and wrap the base with electrical tape for extra security. Tuck wires neatly into the box.
-
Mount the canopy and secure it to the crossbar. Adjust cord or chain length now, most fixtures include extra length that tucks inside the canopy.
-
Attach the glass shade per manufacturer instructions. Some twist-lock, others use set screws or clips. Handle glass carefully, install bulbs first if access is easier.
-
Restore power and test. If the light doesn’t work, kill power again and check wire connections.
When to call a pro: If the kitchen lacks ceiling boxes where pendants are needed, hiring a licensed electrician to run new circuits and install boxes is smart. Same for homes with knob-and-tube wiring or aluminum wiring, both require specialized handling. Adding new circuits may require permits: check local code (NEC Article 210 for branch circuits).
Maintenance and Cleaning Tips for Glass Pendant Fixtures
Glass pendants need regular attention to stay sharp. Cooking grease and dust dull the finish faster than fixtures in other rooms.
Weekly maintenance: Wipe exterior glass with a microfiber cloth and standard glass cleaner. For kitchens near the range, do this twice a week. Quick wipes prevent buildup that bakes on from heat.
Monthly deep cleaning: Turn off power and let bulbs cool. Remove glass shades if possible, most twist off or release with set screws. Wash in warm, soapy water (dish soap works), rinse, and dry with a lint-free towel. For textured or seeded glass, use a soft brush to reach crevices. Clean the interior where bugs accumulate.
Stubborn grease: Mix equal parts white vinegar and water, or use a degreasing cleaner. Avoid abrasive pads that scratch glass. For milk glass or frosted finishes, test cleaners on an inconspicuous spot first.
Bulb replacement: Switch to LED bulbs for longer intervals between changes, most last 15,000–25,000 hours versus 1,000 hours for incandescents. Turn off power before unscrewing old bulbs. Wipe the socket with a dry cloth if dust has built up.
Hardware care: Check mounting screws and set screws every six months. Kitchen vibrations (exhaust fans, foot traffic upstairs) can loosen hardware over time. Tighten gently, overtightening can crack glass shades where they meet metal fittings.
Preventing damage: Install pendants outside the “splash zone” near sinks if possible. Avoid hitting glass with cabinet doors or tall items carried overhead. If a shade cracks, many manufacturers sell replacement glass without requiring a full fixture swap, keep model numbers handy.


