
Lighting above the bathroom sink isn’t just about flipping a switch, it’s the difference between a decent shave and a nick-fest, between makeup that looks great in the car and makeup that looked great in the mirror. Most bathrooms come with builder-grade fixtures that do the bare minimum, casting shadows exactly where you don’t want them. Whether renovating an outdated bath or just swapping out a tired fixture, choosing the right over-sink lighting involves more than matching finishes to your faucet. Placement, fixture type, bulb temperature, and installation requirements all play a role in creating functional task lighting that actually works.
Table of Contents
ToggleKey Takeaways
- Over bathroom sink lighting serves critical task lighting functions, eliminating shadows and revealing true colors for grooming, makeup application, and shaving—far beyond what general overhead fixtures can accomplish.
- Proper over bathroom sink lighting placement includes vanity bars mounted 75-80 inches above the floor, side sconces at 60-65 inches, and fixture width sizing at two-thirds to three-quarters of your mirror width for optimal proportion and function.
- Choose LED bulbs in the 3000K-3500K warm white temperature range and aim for 1500-3000 lumens combined output to accurately render skin tones without harsh shadows or clinical lighting.
- For DIY fixture swaps, always turn off power at the breaker and use a voltage tester before installation; heavier fixtures require reinforced metal mounting boxes, while new electrical runs should be handled by a licensed electrician to ensure code compliance.
- Matte black, brushed nickel, satin brass, and mixed-metal finishes dominate 2026 bathroom lighting trends and should coordinate with your faucets and hardware for a cohesive, intentional design.
Why Over Sink Lighting Matters in Your Bathroom
Task lighting at the vanity serves a specific purpose: illuminating faces evenly without harsh shadows under the eyes, chin, or nose. Overhead ceiling fixtures create downward shadows that distort facial features, fine for general ambient lighting, but useless for grooming tasks.
Properly positioned fixtures flanking or mounted above the mirror distribute light across the face rather than from a single direction. This setup mimics natural daylight and reveals true colors, which matters when applying makeup, shaving, or checking if that shirt really matches.
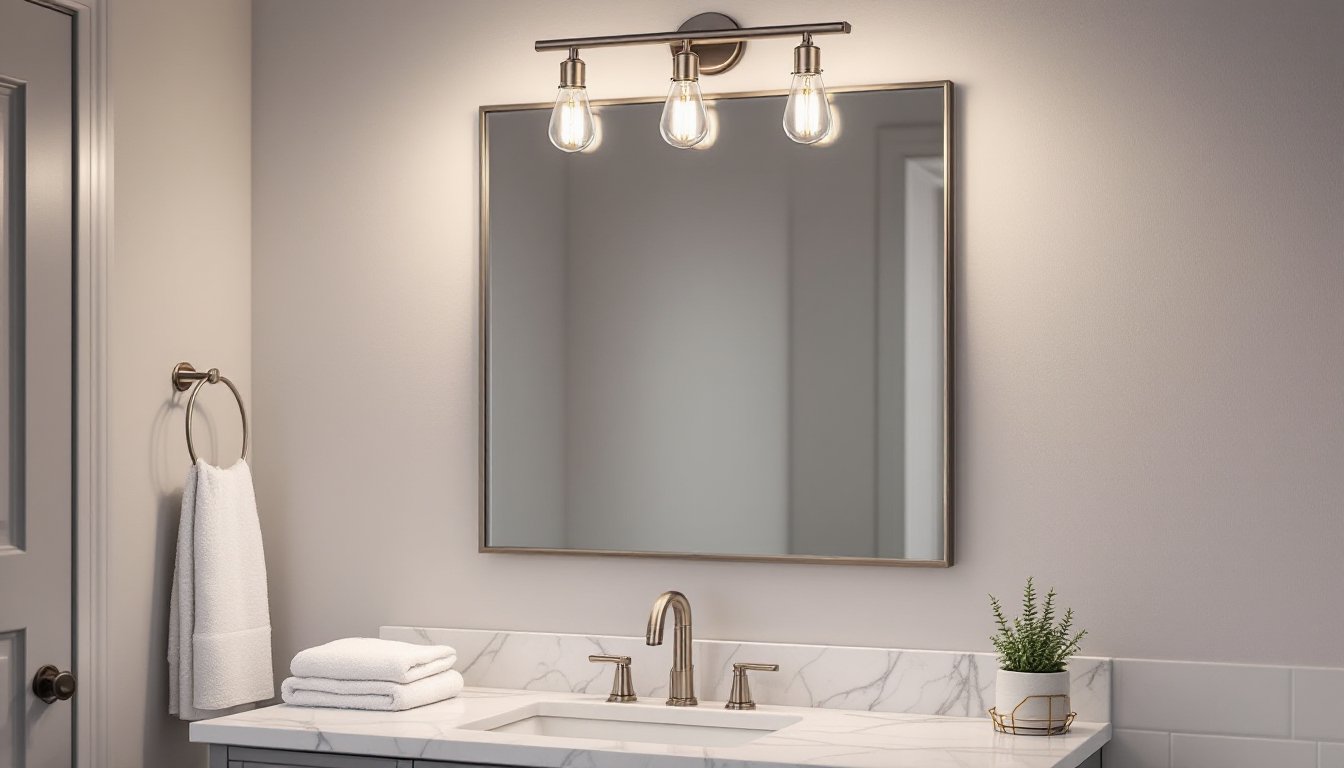
Beyond function, vanity lighting defines the bathroom’s style. A three-light brushed nickel bar reads traditional. Black matte sconces flanking a round mirror skew modern farmhouse. Glass globe pendants add a touch of glam. The fixture becomes a focal point, especially in powder rooms where the sink area dominates the space.
Building codes (typically IRC Chapter 11) require bathroom lighting to meet minimum illumination levels, usually around 20 foot-candles at task areas. While inspectors rarely measure lumens during a fixture swap, understanding the requirement helps ensure adequate brightness. Most vanity fixtures accommodate multiple bulbs or higher-wattage LEDs to meet this standard without difficulty.
Types of Lighting Fixtures for Above Your Bathroom Sink
Choosing the right fixture type depends on mirror size, ceiling height, and personal style preferences. Each category offers distinct advantages for different bathroom layouts.
Vanity Light Bars and Wall Sconces
Vanity light bars mount horizontally above the mirror, typically ranging from 24 to 48 inches in length. These fixtures house multiple bulbs (usually 3 to 5) and provide broad, even illumination across the countertop. They work best above wider mirrors, a 36-inch mirror pairs well with a 30 to 36-inch bar, leaving roughly 3 inches of clearance on each side.
Most bars mount directly to a standard junction box and sit 75 to 80 inches above the finished floor (AFF), placing them just above eye level for average-height users. The downside: bars only light from above, which can still cast some facial shadows. Pairing a bar with side sconces solves this but requires additional wiring.
Wall sconces install on either side of the mirror at face height, roughly 60 to 65 inches AFF, depending on user height and mirror dimensions. This placement delivers the most flattering light by illuminating the face from both sides, eliminating shadows almost entirely. Side-mounted sconces work particularly well in narrow bathrooms where horizontal space for a wide fixture is limited.
Sconces require two separate junction boxes, which means running new electrical if the bathroom wasn’t originally wired for side lighting. This upgrade often makes sense during a gut renovation but adds complexity (and cost) to a simple fixture swap. When working with effective bathroom lighting arrangements, symmetry and consistent height matter, misaligned sconces look amateurish no matter how nice the fixtures.
Pendant Lights and Mini Chandeliers
Pendant lights hang from the ceiling on a cord, chain, or rod, positioning the light source closer to face level without wall-mounting hardware. They suit bathrooms with higher ceilings (9 feet or more) and work especially well flanking a freestanding or wall-hung mirror that doesn’t extend to the ceiling.
Most pendants designed for vanity use have downward-facing or globe-style shades that diffuse light in multiple directions. Clear glass or seeded glass globes provide ambient glow, while opaque shades focus light downward. Hang pendants so the bottom of the shade sits around 65 to 70 inches AFF, high enough to avoid head-bumping but low enough to illuminate effectively.
Pendants offer design flexibility and work in everything from industrial lofts to coastal-themed baths. The tradeoff: they require ceiling junction boxes positioned exactly where the pendants will hang. Moving a ceiling box involves cutting drywall, running cable through ceiling joists, and patching, doable for a confident DIYer, but a two-day project rather than a two-hour fixture swap.
Mini chandeliers bring a decorative punch to powder rooms and primary baths with adequate ceiling height. These scaled-down fixtures typically measure 12 to 18 inches in diameter and hang 30 to 36 inches above the countertop. They provide ambient light rather than focused task lighting, so they work best paired with additional sconces or recessed cans for functional illumination.
How to Choose the Right Size and Placement
Fixture sizing follows a simple guideline: the fixture width should measure about two-thirds to three-quarters the width of the mirror or vanity, whichever is narrower. A 48-inch double vanity looks proportional with a 32 to 36-inch light bar. Undersized fixtures look lost: oversized fixtures overwhelm the space and can interfere with medicine cabinets or side walls.
For sconces, position them 36 to 40 inches apart, centered on each side of the mirror. If the mirror is narrower than 30 inches, sconces may crowd the space, consider a single overhead fixture instead. When mounting sconces beside a mirror, keep them at least 3 inches away from the mirror edge to allow clearance for installation and avoid a cramped look.
Height placement affects both function and aesthetics. Mount overhead bars 75 to 80 inches AFF, this positions the light source above the tallest user’s head while keeping it close enough to reduce shadows. For sconces, measure 60 to 65 inches AFF to the center of the fixture, adjusting based on the primary user’s height. If multiple people of varying heights use the vanity, split the difference or aim for the taller user, light angled slightly downward still illuminates effectively.
Bulb temperature (measured in Kelvin) matters as much as fixture placement. For task lighting, choose bulbs in the 3000K to 3500K range, warm white that mimics natural daylight without the sterile, bluish cast of higher Kelvin temperatures. Many contemporary home design resources recommend this range for bathrooms because it renders skin tones accurately. Avoid bulbs below 2700K (too yellow) or above 4000K (too clinical) for vanity lighting.
Brightness also matters. Aim for a combined output of 1500 to 3000 lumens for a single-sink vanity, more for double vanities. LED bulbs now deliver high lumens at low wattages, a 13-watt LED can output 1600 lumens, equivalent to a 100-watt incandescent. Dimmers add flexibility, allowing bright light for grooming tasks and softer light for evening routines.
Installation Tips for DIY Homeowners
Swapping an existing fixture for a new one is a straightforward project if the junction box is already in place. First step: turn off power at the breaker, not just the wall switch. Use a non-contact voltage tester to confirm power is off before touching any wires. Skipping this step can result in a dangerous shock.
Remove the old fixture by unscrewing the mounting hardware and disconnecting the wire nuts. Most vanity lights connect with simple wire nuts: black (hot) to black, white (neutral) to white, and bare copper or green (ground) to ground. If wires are damaged or insulation is cracked, trim back and re-strip them before connecting the new fixture.
Check that the existing junction box is securely fastened to a stud or blocking. Lightweight fixtures under 5 pounds can hang from a standard plastic box, but heavier fixtures (especially those with glass shades) require a metal box screwed directly to framing. If the box wobbles, reinforce it before installing the new fixture, a loose box will eventually pull away from the wall.
Installing new sconces or pendants where no junction box exists requires running cable from an existing circuit or the panel. This involves cutting drywall, drilling through studs, fishing wire, and installing new boxes, work that must comply with NEC (National Electrical Code) requirements. Most jurisdictions require a permit for new electrical runs. If unfamiliar with residential wiring, hire a licensed electrician. The cost difference between a DIY disaster and a code-compliant installation is significant.
When mounting fixtures to drywall, use the provided hardware or upgrade to toggle bolts for heavier units. Standard drywall anchors aren’t sufficient for fixtures weighing more than a few pounds. For tile surrounds, use a carbide-tipped masonry bit to drill pilot holes, and work slowly to avoid cracking the tile, there’s no good fix for a cracked tile short of replacement.
After wiring and mounting the fixture, install bulbs and restore power. If the fixture doesn’t light, recheck connections and confirm the bulbs are properly seated. If wiring looks correct but the fixture still doesn’t work, use a multimeter to test for voltage at the box, sometimes the problem lies upstream in the circuit.
Popular Styles and Finishes for 2026
Matte black continues to dominate bathroom fixtures in 2026, offering a contemporary edge that pairs well with white subway tile, marble, and light-toned wood vanities. Black fixtures show water spots and fingerprints less obviously than polished finishes, making them practical for high-use bathrooms.
Brushed nickel and satin brass remain strong choices for transitional and traditional spaces. Nickel reads neutral and works across a range of color palettes, while brass adds warmth without the high-maintenance shine of polished brass. Unlacquered brass develops a natural patina over time, a feature, not a flaw, for those who appreciate the aged look.
Mixed metals have become more acceptable in bathroom design. Pairing black light fixtures with brushed gold faucets or chrome hardware creates visual interest without clashing, as long as one finish dominates (use a 70/30 or 80/20 ratio). Many homeowners now reference interior design trends to balance fixture finishes throughout their homes.
Geometric and industrial designs with exposed bulbs, cage shades, and angular frames suit modern farmhouse and urban loft aesthetics. These fixtures work particularly well in bathrooms with shiplap, concrete countertops, or metal-framed mirrors.
Glass globe fixtures, clear, seeded, or frosted, deliver a softer, more classic look. Multiple globes mounted on a single bar or as individual sconces provide both style and function, diffusing light evenly while adding a touch of elegance.
When selecting finishes, match or coordinate with other fixed elements in the bathroom: faucets, towel bars, cabinet hardware. Mismatched finishes can work if intentional, but three or more different metals in a small bathroom usually looks disjointed rather than curated.


